
oh, it's not immediately identifiable right off the bat? come now. it's an asian-style baby carrier... any asian-style baby carrier you want it to be. podaegi? right here. onbuhimo? slide a ringed waistband into one of the channels. mei tai? slide a long waistband strap into one of the channels. it can be whatever you want it to be.
not only is it adjustable lengthwise, but it is also adjustable width-wise, in the seat. see those little dots in the center of the body? they're cord locks threaded onto a ribbon that runs through a casing, anchored at the ends. pull up on the ribbon and the body gathers up along it, becoming smaller to accomodate a smaller baby.
want to make one (for personal use only, not for sale please)? here's how i did mine.
assemble your supplies.
you will need:
1 yard of outer fabric (the pretty fabric)
1 yard of soft, lightweight cotton broadcloth or voile
1 yard of sturdy twill, denim, canvas, or duck
3 yards of sturdy twill, denim, canvas, or duck to coordinate with your outer fabric
buckles and webbing and/or sling rings for your waistbands
1/2 yard (or more) fleece or batting
quality thread
1.5 yards of coordinating 3/8" grosgrain ribbon
2 cord locks
2 pony beads
use your favorite mei tai pattern for the body. if you don't have a favorite pattern or would like to try a new one, i really like the hood-to-headrest mei tai from a fuller day blog. i omitted the hood on this carrier. i like the contour in the body for my mei tais, and that contour also makes for a narrower body when used with a newborn.
cut out your pieces.
cut out the body pieces. decide how short you want the body for your newborn. mine is approximately 14" (raw cut, including seam allowances) along the center fold. mark that point on your pattern, and extend the length of the bottom down another 16" (raw cut). after cutting out your body pieces, you ought to have one of pretty outer fabric, two of sturdy support fabric, and one of lining fabric.

cut out the straps. i made wrap straps for my carrier, so my straps are 15" wide by 84" long (raw cut) with a 60' taper at the ends. if you prefer padded straps, the hood-to-headrest mei tai tutorial linked above has good instructions for padded straps.
waistbands. you can cut waistbands at this time, or not. i haven't yet made any waistbands for my carrier, so i don't have pictures for them. to make a padded mei tai waistband, follow the instructions in the hood-to-headrest mei tai tutorial linked above. instead of attaching the waistband to the body of the carrier, topstitch it closed and set it aside.
extra stuff. i made a padded, contoured headrest for my carrier. to create one, cut a gentle curve from the "neckline" of the mei tai body approximately 1.5-2" down from the top edge of the body, blending into the strap extensions. to make the headrest pattern piece, cut a piece of string the same length as the curve you just cut and stretch it out so it is slightly flatter than your curve. your string should now extend about 0.5" longer than the curve you cut. trace the new, flatter curve: this is the bottom edge of your headrest. decide how tall you want your headrest; mine is double the width of the piece i cut off the body (approximately 3.5"). using the original curve (from the piece you cut off the body) as a guide, sketch this curve above the bottom, blending toward the ends. this is the top edge of your headrest. add 5/8" seam allowance all around. cut two headrest pieces from your pretty outer body fabric.
if you want a hood for your carrier, now is the time to cut it out from your pretty outer body fabric.
step 1. prep the body. place two body pieces together, right sides together, and pin. you should be pinning one support fabric to the lining piece, and one support fabric to the pretty outer piece. stitch together along the lower straight side, from your newborn mark to the bottom hem of the body. turn and press.

going forward, these two body pieces will generally each be treated as one piece: a pretty body piece and a lining body piece. consider the support fabric as the wrong side of each body piece (lining and pretty outer fabrics as the right sides).
step 2. assemble the headrest and/or hood. if you're not putting a headrest or a hood onto your carrier, skip this step.
to assemble your hood, follow the instructions in the hood-to-headrest mei tai tutorial linked above, or use your favorite tutorial to create your hood. do not attach the hood to the body just yet.
to assemble the padded headrest, place the two headrest pieces together, right sides together, and pin. stitch together along the top edge only. clip the curve, turn, and press.

open the seam flat, grade the seam allowances, and understitch as far as possible. close the seam and press flat again.

using the headrest as a pattern, cut a piece of batting the same size. open the headrest, insert the batting, close, and pin in place. make sure your fabric is smooth all around. stitch the batting in place; you may want to use a walking foot for this part. i ran straight lines of stitching following the top curve of my headrest, but you could quilt pretty designs into your headrest if you wanted to.

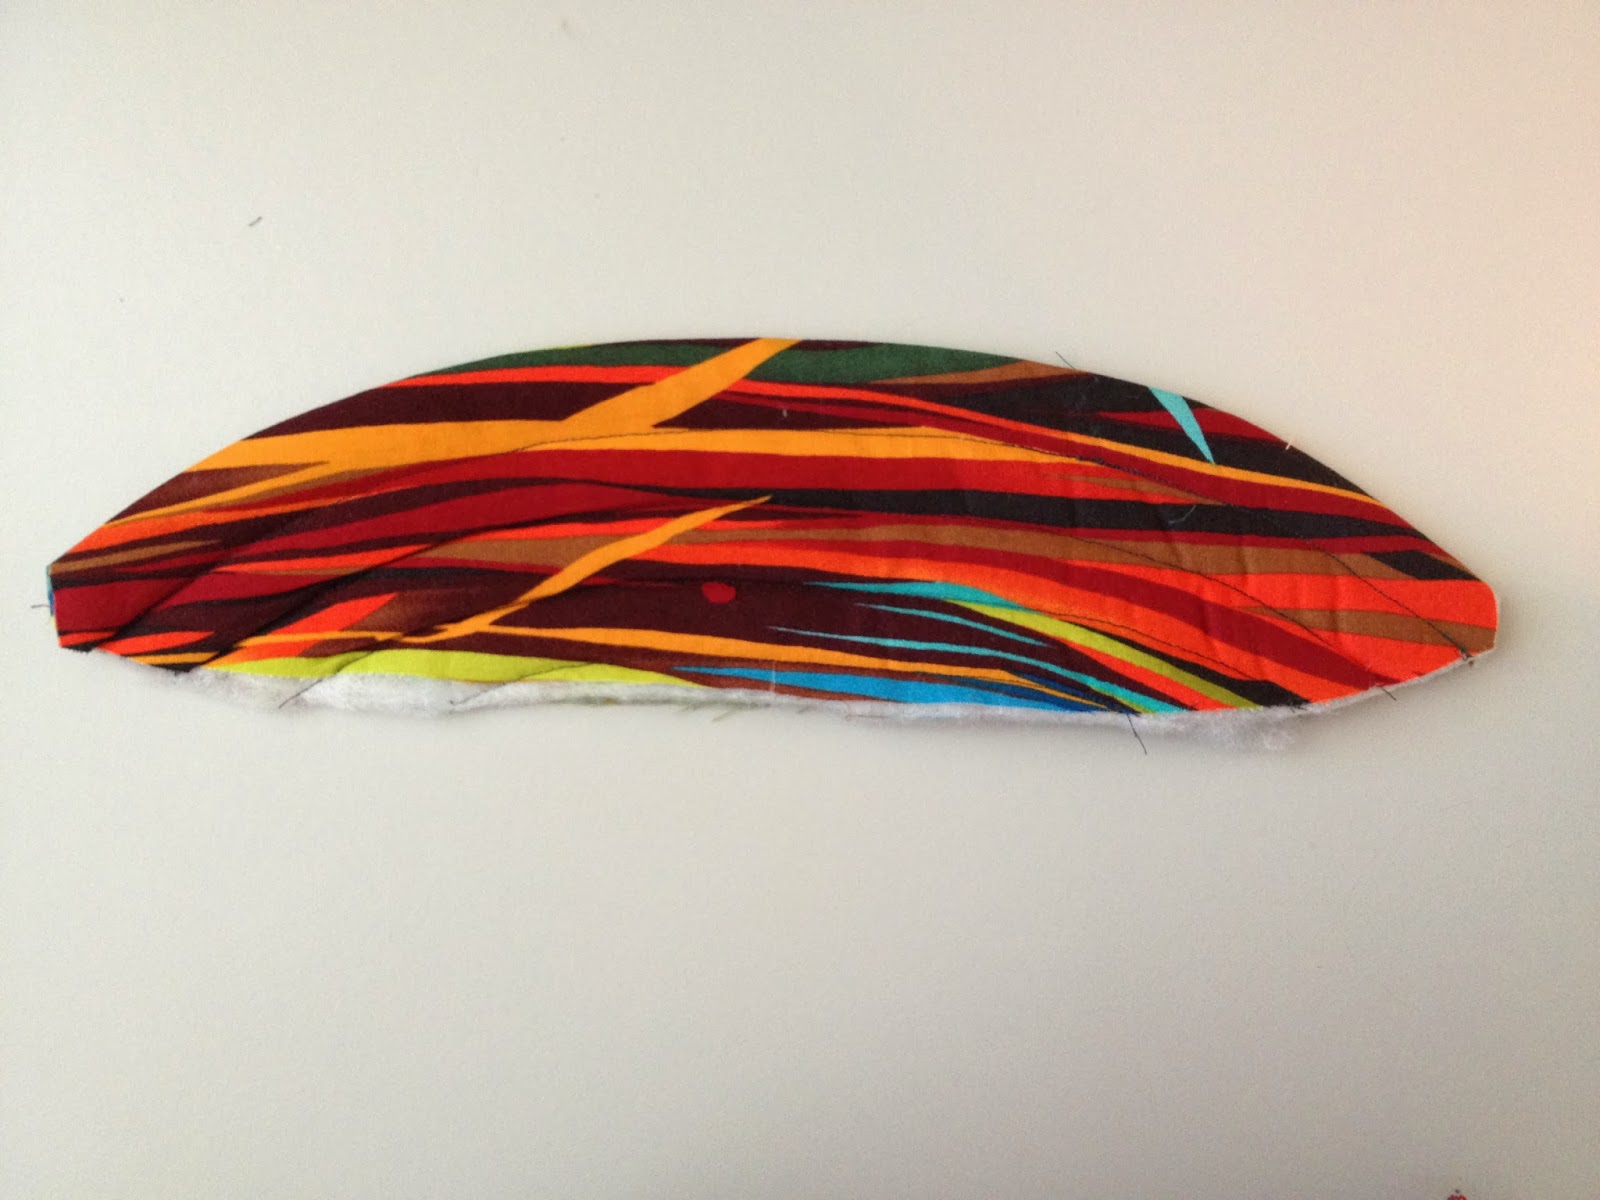
when you are finished, your headrest will look like this. set it aside; you will attach it to the body later.
step 3. assemble the straps. if you are making padded straps, complete them using your favorite tutorial. for wrap straps, hem all edges except the narrow, untapered end (that's the end you will insert into the body of the carrier). gather or pleat the straps to the width of the strap extensions on the body of the carrier, leaving a seam allowance on the body.
step 4. attach the straps. mark 6" in from the raw end of the strap; this is the seam line. place one strap onto the pretty outer body piece, right sides together (for wrap straps), matching the strap seam line to the seam line on the body strap extension. the raw strap edge should stick out past the seam allowance and the finished strap should be hidden by the body. pin in place. place the lining body piece on top of the pinned strap/body with the lining (right side) toward the strap.

stitch across the seam line of the body strap extensions, sewing through all layers. turn and press, then turn back.

step 5. reinforce the straps. slide your hand into the outer body panel and flip it over the inner panel and straps, so the carrier is encased inside the pretty panel and support layer.

holding the single layer of pretty body fabric away, lay the support fabric (from the outer panel) against the strap and lining panel and pin in place. still holding the pretty fabric away, stitch through the strap with a reinforced x-box. you should be stitching through the strap and three layers of fabric only: the lining and the two support layers.

to make a reinforced x-box: stitch a square or rectangle slightly smaller than the length and width of the strap you are anchoring inside, so you are stitching through the strap as well. pivot at the corners. when you have returned to your starting point, pivot and stitch diagonally across the inside of the square to the opposite corner. pivot, stitch straight across the bottom of the square to the next corner, then pivot and stitch diagonally across the inside of the square again to the opposite corner, creating an X within the square.
turn the body so the right sides are facing out. you should be able to see your x-boxes on the inside (lining side), but they should be hidden by the outer panel of pretty fabric. press the strap seam and x-boxes.
step 6. attach the hood or headrest. turn the body back, so the right sides are in and the wrong sides are out, the same as you had it for reinforcing the straps. slide the hood or headrest into the body, matching centers, and pin in place with right sides together. baste in place from strap edge to strap edge, along the entire length of the top edge.

pin the remaining three layers to the hood or headrest, matching centers, and stitch in place along the basting line. remove basting stitches, clip corners and curves, turn, and press. turn back, grade seams, open seam, and understitch as far as possible.

turn and press flat.

step 7. complete the upper body. flip the outer panel over the entire carrier, encasing it like in step 5. pin through all four layers of the body. stitch the sides of the body together from the strap corners to the newborn mark, leaving the bottom of the panels free.

clip corners and curves. turn and press. isn't it beautiful? you're almost done!!

step 8. ribbon adjustment for seat. at this point, it is very important that your carrier be exactly even on both sides, otherwise the carrier will be lopsided and/or you will not have enough room for your waistband channels. chalk a straight line from the bottom corner of the side contour across the body to the other corner.

pin the body together to prevent shifting and stitch through all layers along this line. for this line of stitching, i used a three-step straight stitch, a triple-reinforced stitch. when it supports the weight of your baby, any waistband will put stress on this line of stitching so please be sure it is strong.
mark the center and make a small buttonhole through the outer panel only, then stitch through all layers 1/2" down from the top line.

cut a piece of ribbon approximately 6" longer than the width of the body, and thread a pony bead onto it. fold the ribbon in half and thread the cord lock onto it, pulling the cord lock up against the bead. (the bead acts as a stop, so the cord lock doesn't fall off your ribbon and the ribbon doesn't get lost inside the channel.) burn one end of the ribbon to seal.

thread the burned edge of the ribbon into the channel from the center buttonhole with a safety pin or bodkin. pull the burned end to the edge of the carrier, but not beyond (so it remains hidden in the channel). pin in place, then anchor at the end. i used a combination of zigzag stitches, three-step stitches, and simple straight stitches to anchor mine.

adjust the cord lock and bead by pulling on the ribbon, so the cord lock rests against the buttonhole with no slack in the ribbon, but not pulling on the end of the carrier. any extra ribbon hanging off the carrier would be annoying when trying to wear it, if not hazardous to your baby should they play with the cord lock when the carrier is not in use.

thread the remaining end of the ribbon into the other side of the channel with a bodkin or safety pin.

pulling the ribbon to the end, mark the edge of the carrier on the ribbon, then trim the ribbon. burn the edge of the ribbon to seal, then anchor in place.

step 9. finishing the bottom edge. mark 14" down from the lower row of stitching (for the ribbon channel), then chalk this line across the bottom edge of the carrier. this edge will be finished with a french seam. with wrong sides together, pin in place to prevent shifting, then stitch along this line. trim the raw edge to 1/8", press open, then press the right sides together to create an edge. turn, putting right sides together, and mark a line 3/8" in from the edge, then stitch along this line.

press open, then press flat toward the lining panel. holding the seam open with the outer panel away, stitch the seam allowance to the lining panel to create a flat-felled seam.

step 10. create the waistband channels. chalk a line 4.25" down from the lower line for the ribbon channel, and stitch along that line with a reinforced stitch (like a three-step straight stitch) to create the upper waistband channel (for a newborn body). make a buttonhole in the center, the stitch with a reinforced stitch 1/2" away to create a second ribbon channel. insert a ribbon with cord lock and bead in the same manner as in step 8, then chalk another line 4.25" down from the lower ribbon channel line. stitch along that line with a reinforced stitch to create the two lower waistband channels (standard and toddler bodies).

.jpg)


